Subtotal $0.00


Email :229
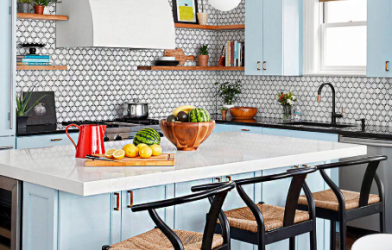
If your kitchen cabinets are looking a bit outdated, replacing them can seem like the best option. However, a full cabinet replacement can be expensive and time-consuming. A great alternative is to reface your cabinets. This process involves updating the cabinet doors, frames, and sides, giving your kitchen a fresh new look without the hassle of a full remodel. If you’re up for the challenge, here’s everything you need to know about refacing your cabinets.
Why Choose to Reface Your Cabinets?
Refacing is a much more affordable and quicker option compared to replacing cabinets entirely. You won’t have to worry about removing all your kitchen appliances or finding temporary storage for your kitchen items. The process only involves changing the exterior of your cabinets, which means you won’t have to deal with contractors coming in and out of your home. Refacing offers a less stressful way to update your kitchen, especially if you’re on a budget and looking for a significant transformation.
However, it’s important to assess the condition of your current cabinets before deciding to reface them. If the cabinets are in poor shape or you’re dealing with structural damage, replacing them entirely might be the better choice.
Steps for Refacing Your Cabinets
1. Measure Your Cabinets and Drawers
Start by taking accurate measurements of the openings of your cabinets and drawers. This will ensure you order the right-sized doors and help you estimate how much veneer you’ll need. You also want to ensure the new veneer and cabinet doors match in size and style.
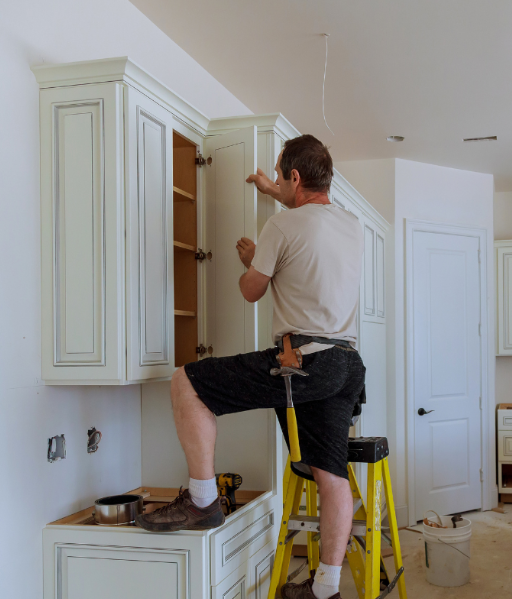
2. Prepare the Cabinets for Refacing
Remove the old cabinet doors and drawers. Take off any hardware like latches, hinges, or handles. Then, scrape away any old finish and lightly sand the frames to prepare the surface for the new veneer.
3. Cut and Apply New Veneer
Using your measurements, cut the veneer into strips that will fit your cabinet and drawer frames. Leave about a quarter-inch of extra veneer to trim off later for a clean finish. Start by trimming the vertical stiles of the cabinet frame, then move to the horizontal rails, and finish with any dividers. Carefully peel off the protective backing of the self-stick veneer and apply it to the frames, starting at one corner. Take your time to make sure the veneer sticks smoothly, as it can be difficult to reposition once it’s applied.
4. Smooth and Trim the Veneer
To help the veneer stick securely, use a smoothing blade or J-roller to press down on the surface. Trim any excess veneer using a utility knife and a straight edge for a clean, sharp cut.
5. Apply Finish to the Doors
If your new cabinet doors aren’t pre-finished, apply a coat of wood stain to them, making sure it matches the veneer. Then, apply three coats of polyurethane finish, sanding lightly between each coat to ensure a smooth, even surface. Once the finish is dry, it’s time to install the hinges. If your cabinet doors have pre-drilled hinge holes, simply attach the hinges as directed. If not, measure and mark the locations for the hinges, then install them according to the instructions.
6. Install the Drawer Fronts
For drawers without a decorative front panel, trim the edges to make them even. Attach the new front to the back of the drawer. If your drawers already have a decorative panel, remove the old faces and replace them with the new ones. Realign any hardware to ensure the drawers operate smoothly.
Conclusion
Refacing your kitchen cabinets is a great way to update your kitchen without spending a fortune. With the right tools and some patience, you can achieve a professional-looking result that will breathe new life into your space. Whether you’re looking to refresh your kitchen on a budget or just want a change, this DIY project is a fantastic way to enhance your home’s style and functionality.